Potatoes are some of the easiest vegetables to grow and store, and with varieties ranging from crisp red to buttery gold, they can play a starring role in a great number of culinary delights. Start your very own crop using these guidelines.
SELECTION
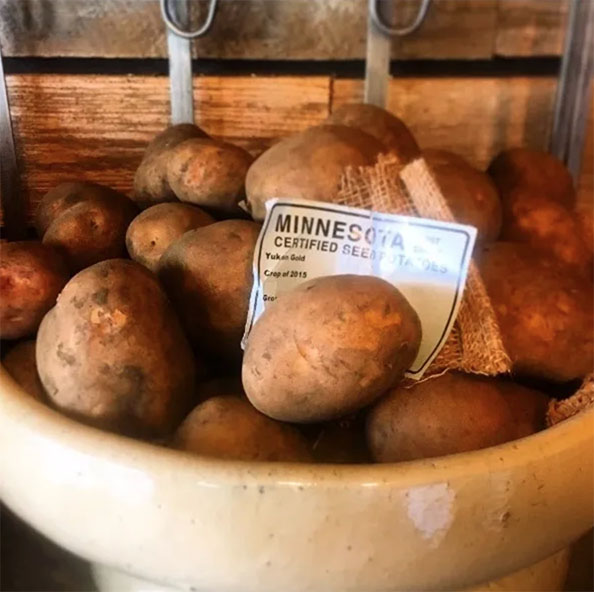
Choose from our selection of quality, certified, seed potatoes. We offer only the best varieties for our area. Each whole seed potato yields approximately 3-5 golf ball-sized chunks that will each become a potato plant. Each plant can produce between 8 and 15 potatoes, so use these estimated numbers to calculate how many you need to purchase to get your ideal harvest.
CREATING YOUR “SEEDS”
Cut the seed potatoes into golf ball-sized chunks with 2-3 eyes each. Cure your seeds by laying the chunks out on a flat dry surface (cookie sheet) to dry for at least 3 to 4 days before planting. Once they are dry, dust them with 2 tablespoons of sulfur powder per pound.
PLANTING IN BEDS
Dig a trench about 6-8 inches deep and 4 inches wide. Place the cured pieces in the bottom, roughly 12 inches apart, and backfill with about 4 inches of loose, compost-rich soil. The soil needs to be very lightweight to allow maximum aeration and space for the proper formation of rot-free potatoes. Once the plants have grown to be about 8 inches tall (about a month after planting), add another 4 inches of your loose compost-rich soil. This process is called “hilling” and you will repeat it until your trench is filled a little beyond the top. Each time you “hill” your plants, be careful not to cover more than 1 half of the plant’s stem.
CONTAINER PLANTING
Fill an empty container two-thirds with rich, organic potting soil like our Nature's Creation Potting Mix. Place the cured seeds in the bottom, allowing about 12 inches in between them, and cover loosely with more potting mix. Once you have an 8-inch tall plant, add enough soil to cover half to two-thirds of it. Continue this process until you reach the top of the container. Do not reuse potting soil from previous seasons as it may contain diseases!
CULTIVATION
Water early in the morning to prevent fungal issues. Should you notice any fungus, treat it immediately with an organic fungicide and do at least one repeat application per product instructions. You may feed your potatoes with Microlife 6-2-4 by mixing some in with your base soil at the time of planting, and then working it into the surface of your planting area at monthly intervals throughout the growing season.
HARVEST
Potatoes start forming as soon as you see flowers on your plants. For “baby” potatoes (AKA fingerlings or new potatoes), you can harvest some from just under the surface using a hand fork. For full-size potatoes, wait until about 2 weeks after the foliage dies down sometime in summer. Carefully use a garden fork if your potatoes are in the garden. If you’ve used the container method, simply empty the container and collect your potatoes. Add the leftover soil to your compost pile.
STORAGE
Brush excess soil off by hand and resist the urge to wash them before storage, because they will actually store longer with a little soil on them, and simply wash them before preparing. Store the potatoes in a single layer in a cool, dry place, like a newspaper-lined crate, or other storage bin that allows airflow.